Bits and Pieces
This is the home for those little bits and pieces of information that don't warrant a topic of their own but are still important.
Auto Save
In Preferences you can now set an Auto Save interval.
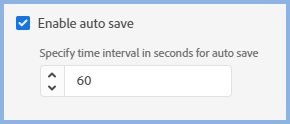
Adobe RoboHelp will auto save at the specified interval. Whilst the topic remains open in the authoring area, you can use Undo/Redo or CTRL Z/CTRL Y through all the autosaves made in that session. Once the topic is closed, the changes are committed.
You can also use Undo/Redo or CTRL Z/CTRL Y with Auto Save deselected whilst a topic is open even though you have saved.
In all cases, once you have closed the topic, the undo options are no longer available.
Breadcrumbs > Home
By default the Home breadcrumb will take users to the default topic. If you want that part of the link to be simple text you need to edit the skin. Go to the Layout Tab > Topic Page and deselect Breadcrumbs Home Hyperlinks.
Closing Tabs in the Authoring Area
As well as clicking the X on the tab, you can middle click your mouse.
CSS Properties
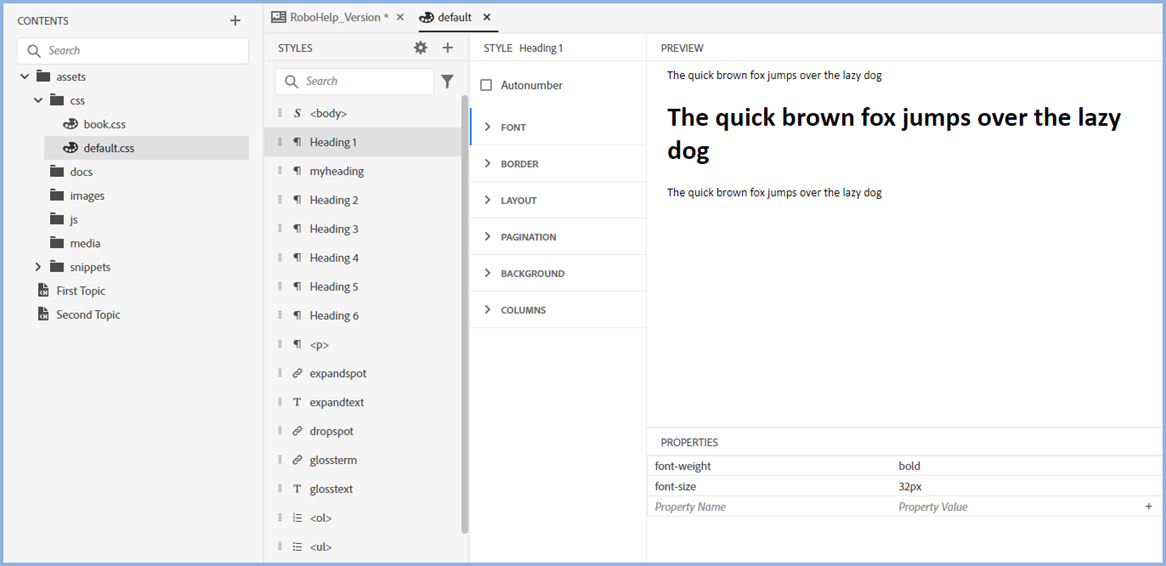
In addition to using the dropdowns to define a style, there is now a table that shows the properties that have been changed from the CSS defaults. You can edit the values and/or add new Property Names and Values. This is for advanced users as whatever is entered must meet CSS3 standards.
Div Tags, Scaling and Rotation
Adding Div Tags
Using the Insert HTML Elements on the top toolbar, you can now easily insert Div Tags and Positioned Div Tags. Place the cursor where you want the Div Tag and select the type required.
Div Containers will move with the content as will Positioned Divs initially. However, positioned divs have the position dropdown preset to Absolute with additional fields below where you can define the position.
To convert a Div Container to a Positioned Div, set Position to Absolute to see the additional fields to set the position.
Divs can be styled inline or in the CSS file.
What You Can Do Within a Div Tag and Other Blocks of Content
- You can overlap Positioned Divs and set which one is foreground.
- You can rotate everything within the tag (click the div tag breadcrumb first) or just rotate the selected block of content.
- You can scale everything within the tag (click the div tag breadcrumb first) or just scale the selected content.
Non Scrolling Area
Click here to see how to use divs to set up a non-scrolling area.
File Association
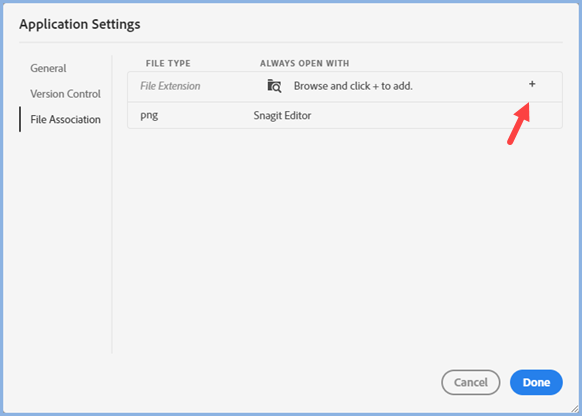
You can associate various file types with your preferred editor.
Click Edit > Preferences and then File Association.
Enter the file extension and then browse the exe file of your preferred editor, then click the + icon to see that in the row below.
Click Done when you have added the required editors.
Hyperlinks
When you add a link in a topic using the Link icon, you can add a screen tip to give the user more information. If you drag topics to create a link in another topic, right click the link to add the screen tip.
Right click a hyperlink to edit it or open the target.
Keyboard Shortcuts
With each update more and more keyboard shortcuts are being added. See the Adobe RoboHelp online help for the current shortcuts. Click here.
Labels / Language File
The LNG file as it was known in Classic versions allowed you to make many changes to terms the end user sees. Later it was renamed Labels but it was still deep in the Project Settings. Now Labels are easily found in Output Presets.
Hover over an existing set to edit or delete it.
 Now you can import and export sets between projects. Great news for anyone who works with multiple languages as that can save on costs.

Markdown
Import options include the import of markdown files.
Mini TOCs
A mini TOC lists the headings in a topic.
- In frameless skins it appears automatically in the right hand panel.
- In responsive skins you can add a mini TOC to individual topics or to a Master Page.
- If you use both in a project, add the mini TOC to the required topics or a master page and apply a condition tag to exclude it from frameless outputs. It will get automatically hidden without the tag but the user may see it flash up before it hides.
Adding the mini TOC
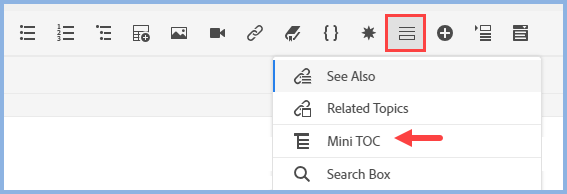
To add a mini TOC place the cursor where you want the mini TOC and click the icon shown.
In the author view it will look like this with some formatting applied. In this example, it has been set to show up to six levels of heading. The heading shows here as Mini TOC (placeholder) but in preview it will show whatever you set in Properties.
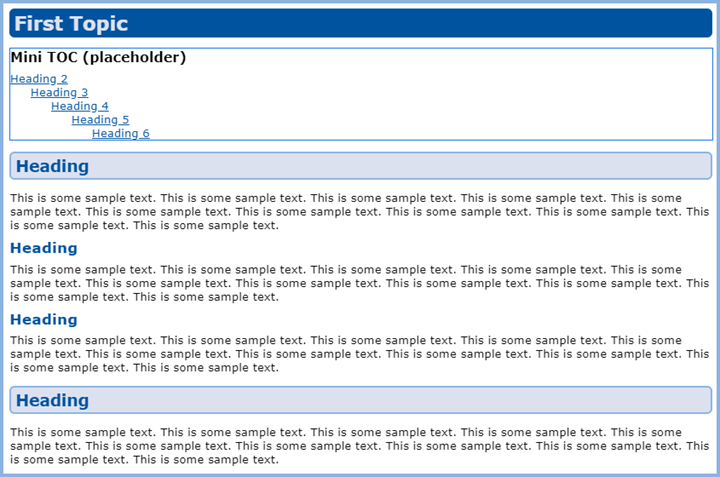
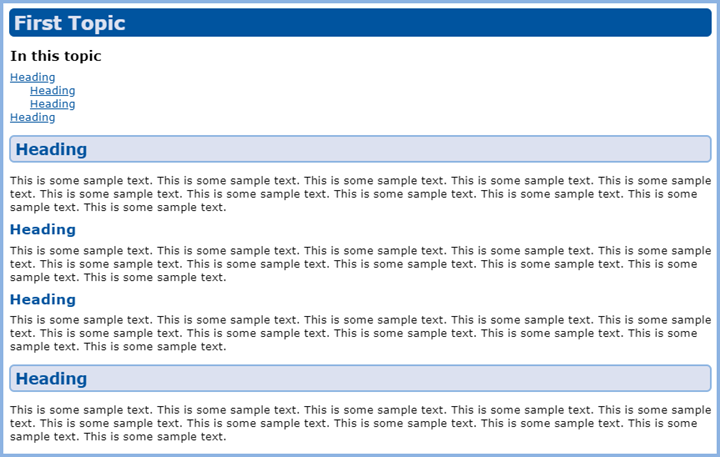
In the preview, it will look like this.
Formatting the Mini TOC Caption
Click in the placeholder line and go to Properties. Here you can define the caption users will see, with different captions dependent on whether the list is expanded or contracted if you choose that option. You can also change the font by selecting a style from your CSS or applying inline formatting.
Formatting the Mini TOC Links
To change the default appearance of the list of topics, click next to list and go to Properties > Styles > Lists.
Select one of your pre-existing list styles or create a new one with a name such as minitoc-list-item to clearly identify its purpose. To change the appearance of that list style, click the pencil icon alongside to open the CSS editor. Set the appearance for each level.
 At the moment, you can only apply one font style, colour, size and weight to the whole list.
Paragraph Markers
Technically "pilcrows". If you want to see your paragraph markers, go to View > Show > Paragraph Markers to toggle them on or off.
Quick Ways to Find a File
- Use the Search field at the top of the Contents panel. Enter any part of the file name or topic title.
- Use the menu File > Recent Files (Alt + CTRL + F). The dialog will allow you to search and it also shows all recently used files.
- Open the Topic List report. You can locate and open the topic from there.
Remove Text Attributes
Within a paragraph you may have added hyperlinks, applied inline formatting such as bold text or a color and so on. You can remove these by selecting each one but there is also an option to bulk remove them across a section of your content.
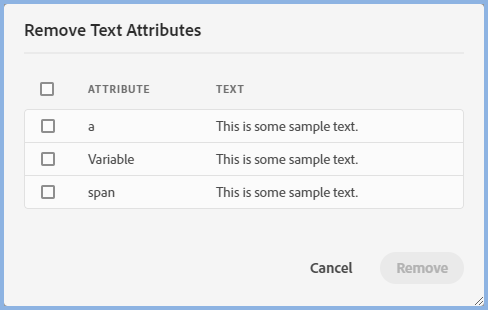
Select the text where you want to remove the attributes in bulk. This can be part of a paragraph, a whole paragraph or across a number of paragraphs and headings. Then right click and select Remove Text Attributes. All the attributes applied in the selection and you can either select all or just those you want removed.
Resource Linking
Resource Manager has been replaced by Resource Linking.
Rounded Corners
When applying a border or a background colour in the style editor you can now set a radius so that the corners are rounded rather than square. The setting is in the Border options but applies to both border and background.
Ruler
The authoring area includes a horizontal ruler. By default it is set to inch but this can be changed to centimetre, pica, pixel or point. You can turn the ruler on and off in the View menu.
Use the sliders to adjust the margins.
It is recommended that you stick to one unit of measurement in a project but if you do change the setting, Adobe RoboHelp will adjust the code in the output. There may be some minor rounding differences in the calculation.
There is not an Indent First Line slider as there was in Classic versions as that is little used now. If you do need to indent the first line of a paragraph, simply add the text-indent declaration to a style or create a class as shown.
p.First-Line-Indent{
text-indent: 10pt;
}
Single Tab Mode
In Preferences > General you can now select Use Single Tab to Open Files. If you have a topic open in the Authoring area, when you open another topic, it will close the open topic unless it has unsaved changes. That allows you to open another file you want to look at to check something without forcing you to save first.
If you need to keep another tab open but otherwise continue in Single Tab mode, right click the topic tab and select Keep Open.
You can also have the TOC open in the authoring area at the same time.
Special Characters
The toolbar icon accesses a dialog with categories of special characters to make it easier to find and insert a wide range of special characters.


Spell Check
Click Edit > Spell Check to see the options for spell checking along with their keyboard shortcuts. The spell check panel appears alongside Properties and the Settings icon lets you edit your saved spellings.
Split View
Right click a tab for any topic and various split screen options will be shown. That topic will be displayed top, bottom, left or right according to you choice and all others will opposite. If you need more screen space, hide the other panels.

Static Footer
In the template editor you will see frameless templates have a footer with links for Contact, Privacy Policy and so on. You will also find it does not come through in your output. The idea is that you create a topic that you design as your own footer and then specify that in the preset. By default it will only appear when the user scrolls to the end of the topic but you can make it static so that it is always visible. Here's how to set that up in your project.
Create the Footer
Create a normal topic with whatever information you want. The image shows a simple table to simplify spacing out the content. You can remove the borders, apply a background colour and so on.

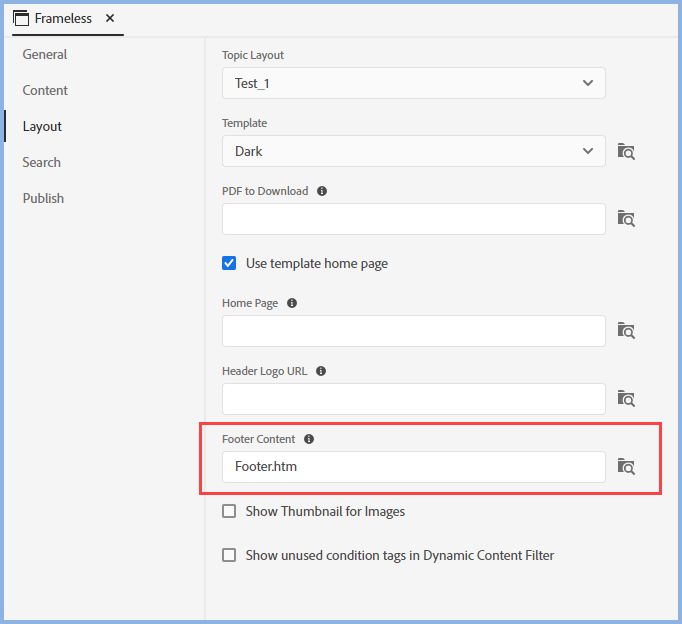
Add Footer to the Preset
Open the preset and browse to the footer.
Configure the Template
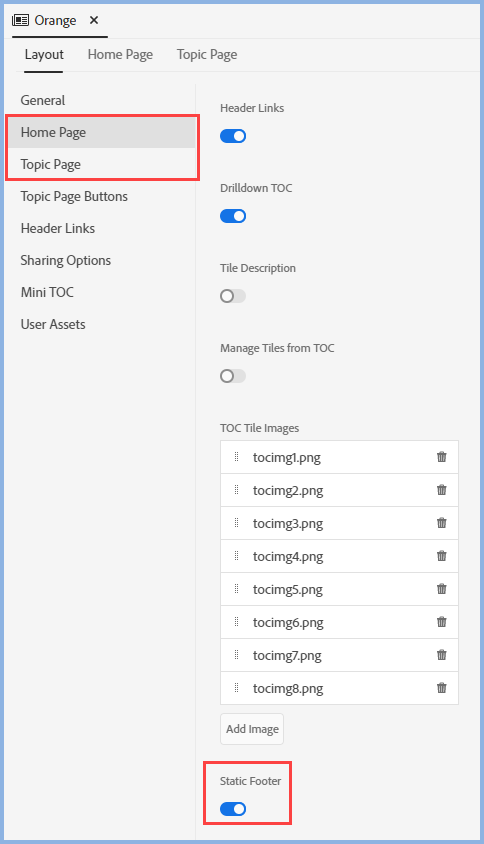
You can set the static footer to appear on the home page only, topics only or both. Open the template in the editor and go to Home Page and/or Topic Page. Enable the Static Footer setting.
That's it.
Stop Words
Stop Words have been moved, they are now in Output Presets.
Simply select a language and edit the supplied list.
When you generate an output, the language you choose for the output will use the appropriate list.
Synonyms
Synonyms have been moved, they are now in Output Presets.
Synonyms are a useful way of allowing your users to enter say car and find any topic with the word automobile in it.
Simply select a language and create your synonyms for that language.
When you generate an output, the language you choose for the output will use the appropriate list.
Title and Search Bar
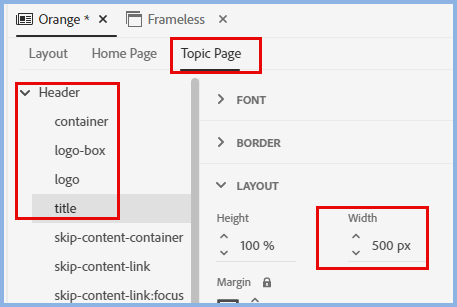
Some project titles need so much width that they overlap with the search bar. Here's how to adjust the template settings to fix that.
First increase the width of the title box to whatever you need. Generate to test your setting is wide enough.
It may well overlap the search bar. If it does, increase the left margin of the search bar.
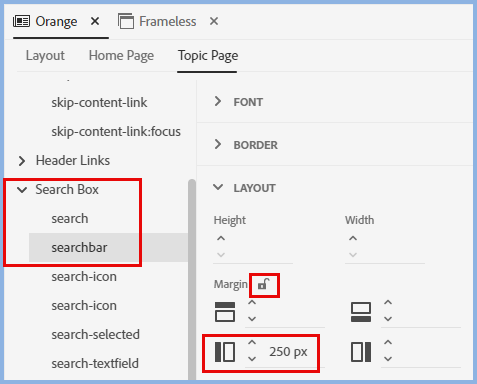
If you use a Home Page in your project, you will need to make the same changes there.
Underscores in File Names
For folders and topics in particular, it is recommended that you avoid spaces in the names. In Project Settings there is now an option so that underscores are automatically added if you enter a space.
This does not affect images to avoid issues with linked resources where you cannot control the naming convention.
Donations
If you find the information and tutorials on my site save you time figuring it out for yourself and help improve what you produce, please consider making a small donation.