Frameless With Chat Pod
Setting up a frameless output is described in the RH2020 Frameless Output topic. This topic describes how to add a chat pod to a frameless output.
Prerequisites
- A Dialogflow account. See https://cloud.google.com/pricing. At the time of writing you get US$300 credit to start you off.
- A project set up in Adobe RoboHelp 2020 with at least Update 1 applied.
- Some topics that will allow you to create a simple frameless output with a small TOC.
- Some microcontent such as that set up in the project in Microcontent > pod_q_and_a.
- Add the pod_q_and_a microcontent to the TOC, in Properties make sure Hide in Output is selected.
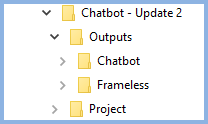
- For the purposes of this tutorial, the structure shown below.
- A web server that you can publish to. If you don't have a web server, there are various ways you can install one locally such as NodeJS,Python, XAMPP, and many more. You may need assistance from your developers.
Create a Chatbot Output
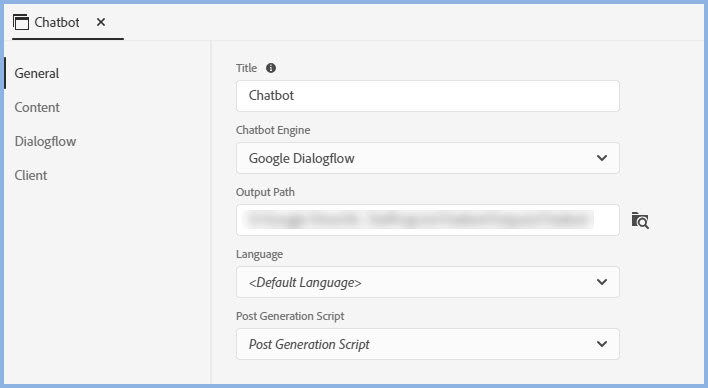
This is the first step as the files created are needed in the frameless output. Edit the preset and generate a chatbot output.
|
General Settings Show me the screenShow me the screen
|
|
|
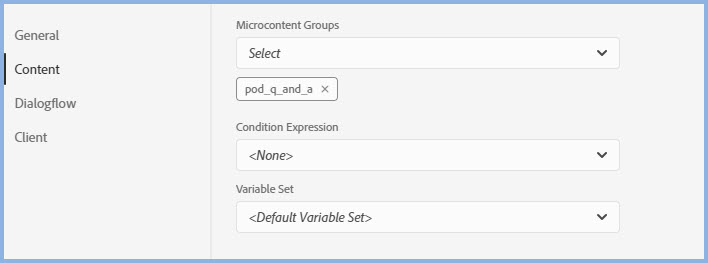
Content Settings Show me the screen.Show me the screen.
|
|
|
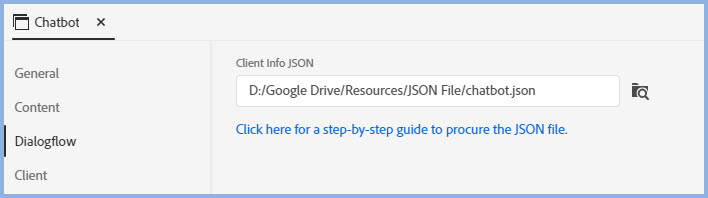
Dialogflow Settings Show me the screenShow me the screen
|
|
|
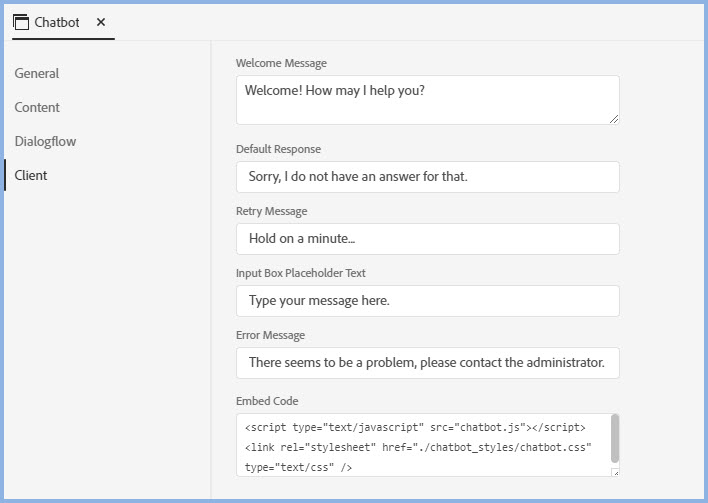
Client Settings Show me the screenShow me the screen
|
|
Add the Chatbot Output to Your Project
- Use File Explorer to go to the chatbot output folder.
- Select the cbicons folder and the chatbot.css and chatbot.js files.
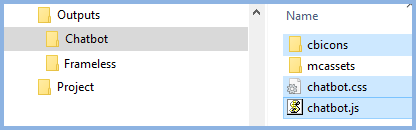
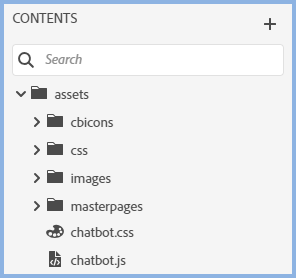
- Paste the files and folders into your project. It should look something like this.
Add the Script
An example of the script you will need is in the Embed Code field of the Chatbot preset. You will need to amend it to reflect the structure of your project.
You can have the chat pod on the home page only with or without it being in topics or you can have it in topics only.
In All Topics
If you want the chat pod to appear in all topics, the easiest way is to use a master page. You can either create a master page or add the script to one you already use.
Using the structure described in this topic, you will need to amend the script as below.

In Specific Topics
If you only want the chat pod to appear in specific topics, you add the script to the head section of those topics. Again you must amend the path to reflect the location of the topic.
On the Home Page
The script needs to be added after you have generated the frameless output.
Generate and Publish the Frameless Output
- Next you generate the frameless output.
- Nothing special here other than for the purposes of this tutorial, generate to the Outputs > Microcontent folder shown in Prerequisites above.
- When the frameless output has been generated, use File Explorer and go to the chatbot output folder. Copy the mcassets folder.
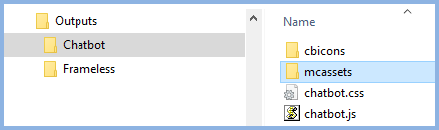
- Go to the Frameless output folder and paste the mcassets folder
- This step is only required if you want the chat pod on the home page, whether or not it will also be in any topics. Locate the start page of your output (not the default topic), usually index.htm, and open it in a text editor, then add the script as described in the section above. Amend the path as required.
- Publish to your web server.
Donations
If you find the information and tutorials on my site save you time figuring it out for yourself and help improve what you produce, please consider making a small donation.