RoboHelp 2019 - Working on Topics
When you open a project and a topic, it will display as shown below.
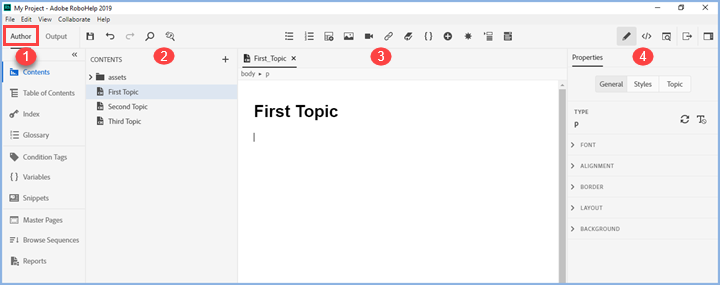
On opening a topic from the Contents panel, it displays alongside. This is the main working area and is shared with editing other features such as the Table of Contents.
- By clicking the Contents icon in the Project Toolbar 1 on the left, the folders and files appear in the Contents Panel. The icon labels are shown below but they can be hidden by clicking the guillemets (double chevrons).
- When you click an icon, it opens in the Project Component Panel 2. What shows in that panel depends on the tool chosen. In this image the Contents Panel is shown.
- On opening a topic, it appears in the authoring area 3. With multiple topics open, you can right click for various Close options or to locate a topic in the TOC.
- Depending on what has focus, 4 will display relevant options, in this example the Properties of the paragraph where the cursor is sitting.
- Above these areas is the Standard Toolbar that is described in User Interface.
As you work in the topic, what you see in the Right Panel will change.
 If you move folders and files using File Explorer, the changes will be shown straightaway. You don't have to close your project to see this. Beware of broken links though.
 The order of tabs cannot be changed in this release. That functionality will be added in an update, along with adding a ruler.
Properties Panel - General
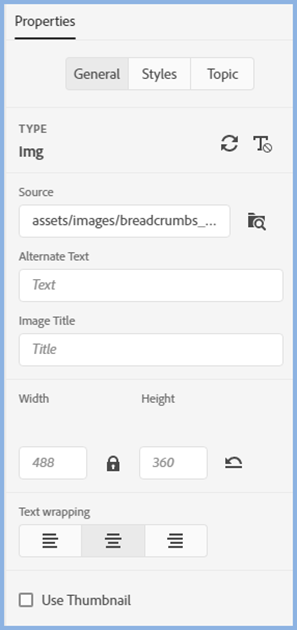 |
What you see here will depend on what has been selected in the topic. Here an image has focus and you can see the general properties that you can accept or change. There is more about that in Images, Videos and Captivate.
|
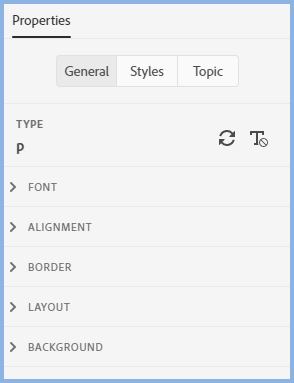 |
Here some text has focus. TypeDisplays the style type applied. The icons allow you to Update the CSS from any inline styling applied and Clear Formatting removes any inline style from wherever the cursor is applied. FontApply inline changes to selected text. AlignmentChange the alignment of the selection. BorderApply a border to the selection. LayoutSets margins, padding, float and clear properties. BackgroundApply a background image or shading. In the code you may see rgba as well as rgb values. The "a" is for alpha channel, which specifies the opacity of the color. |
Properties Panel - Styles
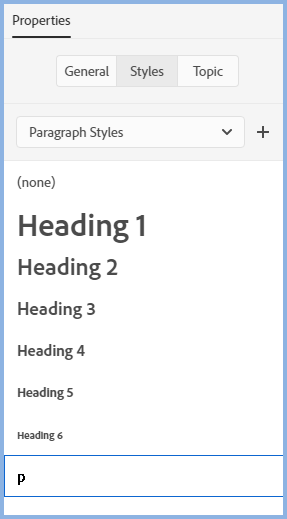 |
Select the CSS style to be applied. |
Properties Panel - Topic
Let's look at these individually as they are important.
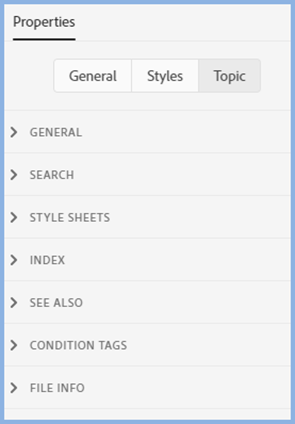 |
Here you see the options contracted for ease of finding. |
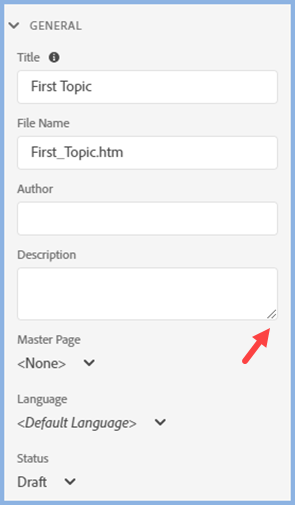 |
The General properties are grouped here. Note the drag handle to expand the Description field. The content of the Description area can be used in the search metadata or it can be used for your own notes. In the Output Presets there is an option Use Topic Description As Search Context. Tick that if you want your descriptions used in that way or leave it clear if you want to use it for your own notes. Do be careful you don't use it for your own notes and tick the box. Could be awkward! This is also where you can apply a master page to your topics. |
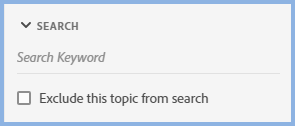 |
Here you can set any search keywords that you want the user search to find in addition to words in the text. Also you can exclude the whole topic from the search. Type in the keyword and press Enter. |
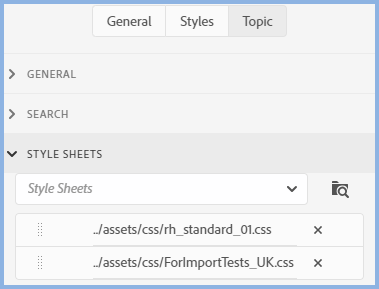 |
RoboHelp 2019 lets you apply more than one style sheet (CSS) to a topic. Here only one is applied. To apply another, click the dropdown to select another or you can browse to add a new CSS. CSS cascading rules apply in the order the style sheets are shown in. The dots to the left are known as drag handles and they let you drag the style sheets into the order you want. To remove a style sheet from a topic, click the X icon. |
 |
Index keywords can be added in the Index Editor on the Project toolbar or entered here. Just add the keyword and press Enter. The Index Editor lets you remove a keyword from just one topic or all topics. Here you can click X to just remove it from the topic whose properties you are reviewing. |
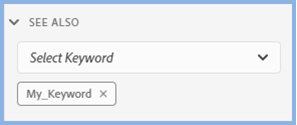 |
See Also keywords can be added and removed here as well as in the See Also Editor on the Project toolbar. |
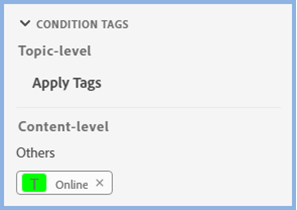 |
Condition tags can be added to a topic here, just click Apply Tags. Content Condition Tags are applied by selecting content and then right clicking to open a dialog to set the tag. The tags set for content are then shown here.
|
 |
Basic file information is shown here. Click the Location link to open the folder in File Explorer. |
Creating New Topics
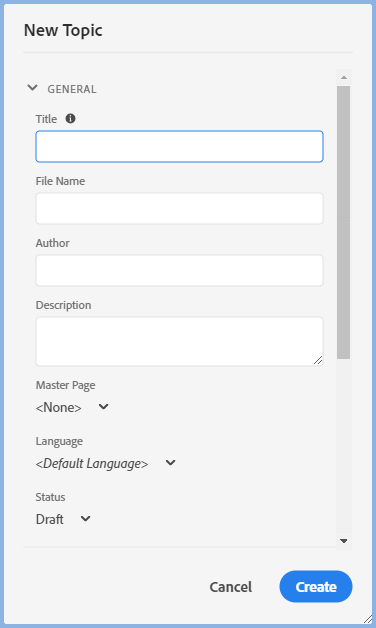
New topics are created by right clicking in the Contents Panel or clicking File > New > New Topic. Enter the Topic Title and File Name, then in the Properties set up anything else you need to define.
Donations
If you find the information and tutorials on my site save you time figuring it out for yourself and help improve what you produce, please consider making a small donation.