RoboHelp 2019 - Images, Videos and Captivate
Inserting Images, Video and Captivate outputs couldn't be simpler.
Images
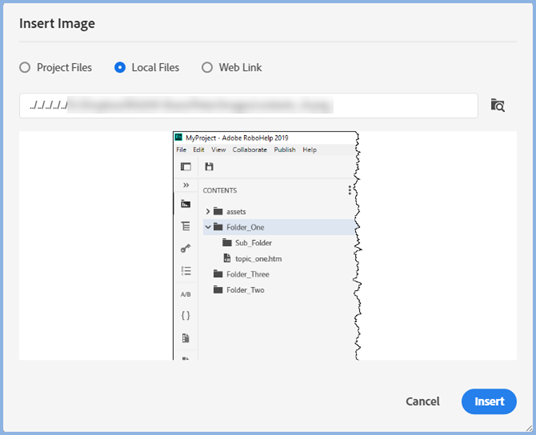
Click in your topic where the image is to appear, then click the image icon on the authoring toolbar, browse your Project Files or Local Files or paste a link to the image and click insert.
You can also just drag the file from the Contents Panel into your topic.
Most image formats are supported including SVG and Google's WebP format. Click the file type dropdown in Project Files or Local Files to see the full list.

You will see a preview that you then insert.
You can position the image, add a border and so on by clicking the image and going to Properties.
On import, the size of the image will be its true physical size. You can change the size it displays at in the topic by changing the dimensions in the fields shown below. That does not change the true image size allowing you to show the image at different sizes in different topics if required.
If you tick the Thumbnail check box, two further fields will be displayed. There you can define the size of the thumbnail as it will appear in Preview and your online outputs. In Printed Documentation, it will be the same size as when you are in Author mode.
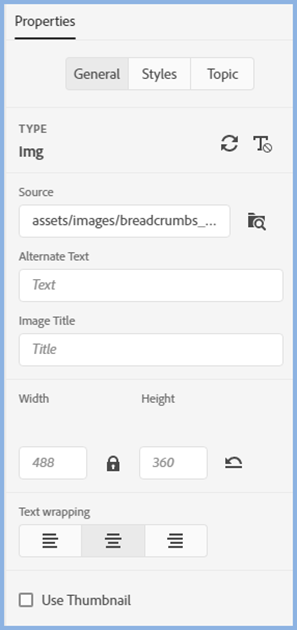
Image Maps
Image maps can be used for many things. For example, they can be a great way of providing help for a software screen.
- Create an image of the screen and add it to a topic as described above.
- Select the image and an additional icon will appear in the toolbar.

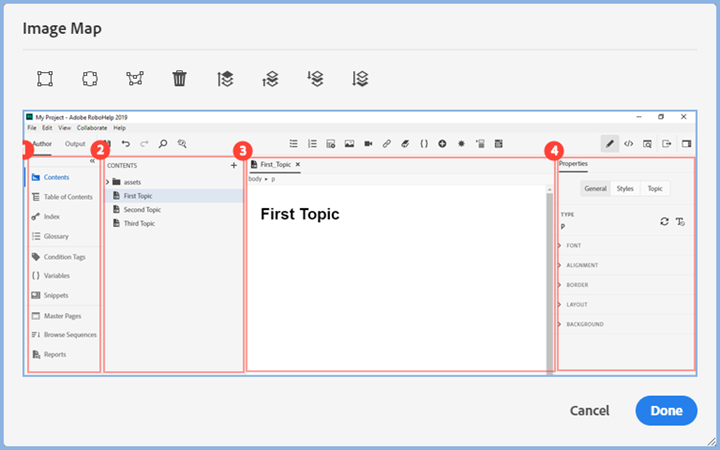
- Click the icon to display the mapping dialog. Select the shape you want, rectangle, circle or polygon.
Rectangle - Click the rectangle icon and drag from one corner to the diagonally opposite corner.
Circle - Click the circle icon and drag to create the circle.
Polygon - Click the polygon icon and click where it is to start. Drag to the next point and click again. Repeat until you have the shape you want and double click the final point to stop drawing.
If any mapped areas need to overlap, use the four toolbar icons on the right to set the priority.
- When you have finished creating your shapes or after you create each shape, select the area and click the Link icon to display this dialog.
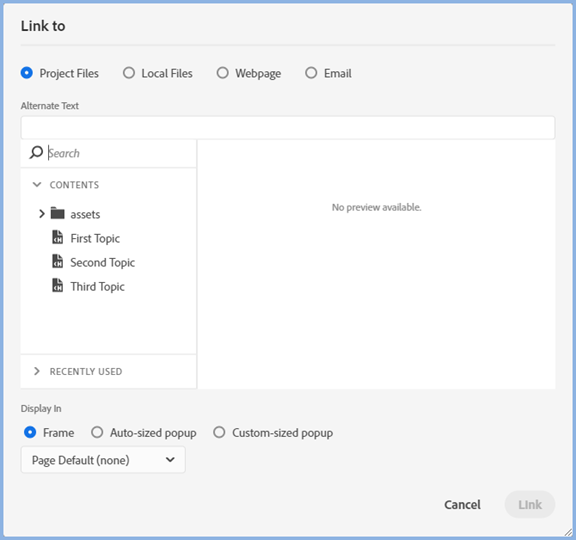
- To change the link target, double click the focus area and link to the new target.
- To change the map shape, select the shape and click the dustbin icon.
- To change the map size, select the shape and use the drag icons.
Video
The process for videos is the same as for images.
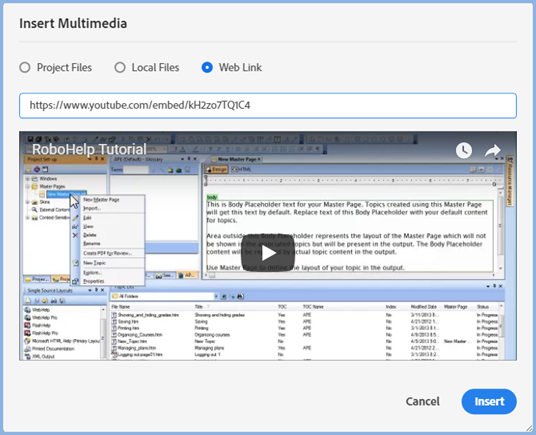
Click in your topic where the video is to appear, then click the Insert Multimedia icon on the authoring toolbar, browse your Project Files or Local Files or paste a link to the video and click insert.
You can also just drag the file from the Contents Panel into your topic.
Most video formats are supported. Click the file type dropdown in Project Files or Local Files to see the full list.

You will see a preview that you then insert.
Click Insert. At a basic level, that's it.
You can position the video, add a border and so on by clicking the video and going to Properties.
Captivate
Click File > Import > Adobe Captivate Demo and browse to the demo you want to insert. You can browse to the CPZ or ZIP file created by Captivate or the HTM/HTML file that launches your demo. RoboHelp 2019 will take what it needs and the demo will show in the Contents Panel.
Click the Insert Multimedia icon and click Adobe Captivate Demo, then browse to the demo you imported.
You can also just drag the file from the Contents Panel into your topic.
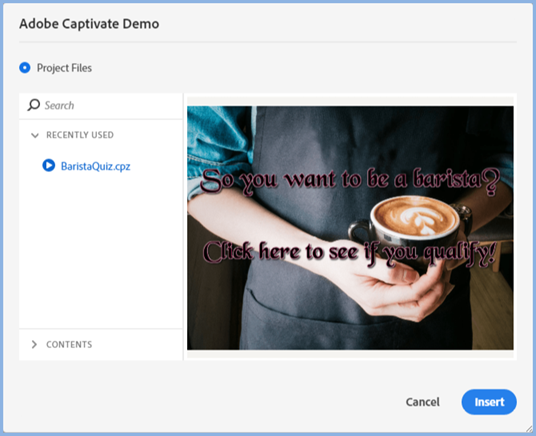
Click Insert. That's it!
You can position the demo, add a border and so on by clicking the demo and going to Properties.
Donations
If you find the information and tutorials on my site save you time figuring it out for yourself and help improve what you produce, please consider making a small donation.