PDF Output
 In Classic versions of Adobe RoboHelp Microsoft Word was required as part of the process of creating a PDF file, that is no longer a requirement.
Before You Start - Java
Windows Machines
PDF generation requires your system to have Java 64 bit Runtime installed.
 If you are in a corporate or government environment, you must not install Java without first liaising with your IT department. They will likely want to undertake this installation themselves.
At the time of writing, the current version was Java 8 Update 251 which will install the Java Runtime Environment (JRE) 1.8. You will need that or a later version. The Oracle site offers different downloads according to the specification of your machine.
Installing Java should create a registry entry that will allow Adobe RoboHelp to generate a PDF output. Should the Java installation fail to create that registry entry you will need to create a system variable.
If you are in a corporate or government environment, you must not create this variable without first liaising with your IT department. They will likely want to undertake this task themselves.
- Click Settings on the Windows 10 Start icon bottom left.
- Click About.
- Under Related Settings top right, click System Info.
- Click Advanced System Settings.
- Click Environment Variables in the Advanced tab.
- Click New under System Variables.
- Enter the Variable Name as JAVA_HOME.
- Click Browse Directory.
- Browse to your Java installation. It should be something like C:\Program Files\Java\jre followed by your version number. For example C:\Program Files\Java\jre1.8.0.251
Mac Machines
To set JAVA_HOME on BigSur
-
From the menu bar in Finder, select Go > Utilities to display a Finder window showing Mac system utilities.
-
Double-click on the Terminal application.
- Create/edit the .profile file in the home folder using the command vim ~/.profile
- Add this line to the file
launchctl setenv JAVA_HOME $(/usr/libexec/java_home) - Reboot the machine.
- Launch Adobe RoboHelp.
On Previous Mac OS Versions
- In the terminal run the command below
echo export "JAVA_HOME=\$(/usr/libexec/java_home)" >> ~/.bash_profile - Reboot the machine.
- Launch Adobe RoboHelp.
Before You Start - TOC Changes
It is vitally important that before you generate a PDF, you understand the way that TOCs have changed will affect your output.
See the Why the Change and What has Changed sections in The Table of Contents topic.
Creating a PDF Output
Click the + icon in the Output Presets panel to create a new output and configure it as below.
The first time you generate an output from a project upgraded from a Classic version, you need to double click the preset or select Edit from the context menu and edit it as below.
After the preset is configured, use the icons above the list of presets or hover the mouse over a preset in the list to generate the output, publish it, make further edits or duplicate the preset.
The configuration options are similar to previous versions and are described in detail in the online help. Variables can be included in the Title. Place the cursor where you want the variable and press CTRL + 1.
PDF files can be created in two ways:-
- If the PDF will not require any editing after generation, you can use the PDF preset.
- If you need to make any changes then use the Word (DOCX) Output first. After editing, you can generate your PDF from there using any PDF generator.
Preset Configuration
The settings appear in seven groups as below. What is entered in many of the fields will be clear and notes have been added to assist with others.
General

Output Path
By default the Output path will be created as an absolute path but you can choose to create a relative path.
Select or deselect the Save Output Path As Relative To Project to change the setting. Adobe RoboHelp will open Explorer to the current folder where you can either click Save Folder to retain the same path or browse to somewhere else.
- If you are a lone author always working on the same machine, you can choose either but the absolute option is recommended so that you can see exactly where the output will be saved.
- If there are multiple authors and/or you work on more than one machine in a non source controlled environment, then the relative path option may suit you better.
This will enable each author to generate to different folders as long as the same relative relationship is maintained. - The relative path option will work better if a project will be worked on using both Windows and Mac machines.
Language
This should be set for the headings of the Index and Glossary pages. The output will then use the terms defined in Labels.
The language setting is also used for hyphenation when any word has to be broken across two lines. The rules to hyphenate are language specific.
Post Generation Script
This allows you to select a script to run after the PDF has been generated.
Content
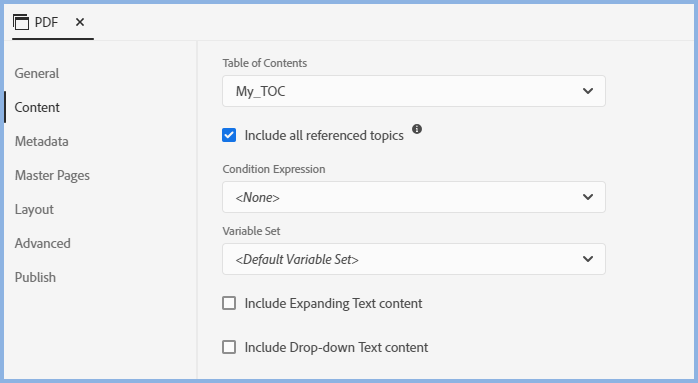
Table of Contents Select the required TOC.
Include All Referenced Topics sets whether or not topics that are not in the TOC but have links from topics that are also get included.
Metadata

Enter any required Metadata for the PDF here.
Master Pages
 Adobe RoboHelp ships with a Book master page that is linked to book.css. The styles in that css control the appearance of the TOC, the Index and the Glossary.
If you want to use master pages with your PDF output
- You can use the supplied master page and leave the topic css files to apply to the topics
- You can use your own master page and link both your own css and book.css to it.
With either of those options make sure your own css does not override what is in book.css.
You can also copy the book.css styles into your own css and apply just that to the master page.
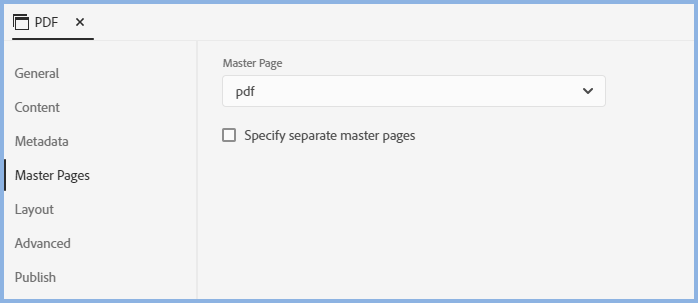
In a new preset, the Master Pages options will show as above. By default it will be assumed that if a master page is selected, it will apply to all sections of the document as defined in the TOC.
Select Specify Separate Master Pages to see further options.

- If the options you set for the First Page of the Chapters & Topics are to be applied to all pages in Chapters & Topics, select the Apply To All Pages checkbox.
- Otherwise clear the Apply To All Pages checkbox and you will be able to apply different master pages to odd and even pages.
- If the Chapters & Topics settings are to be applied to the whole PDF, click Apply To All Parts Below. Otherwise click the chevrons alongside and apply the required settings.
Layout
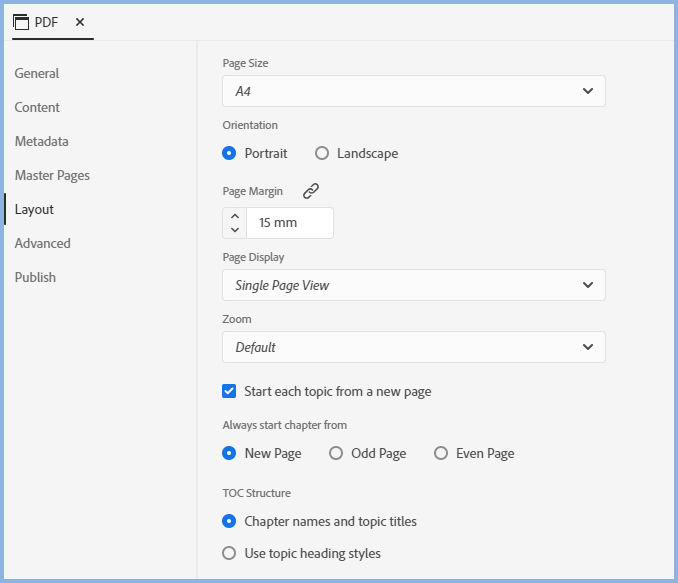
TOC Structure
The Table of Contents in a Word document has to follow the Heading styles applied in the topics. That is defined by Microsoft.
The PDF format has more flexibility and the Table of Contents can follow the Chapter Names and Topic Titles defined in the TOC or it can use the heading styles in the same way as a Word document.
Advanced
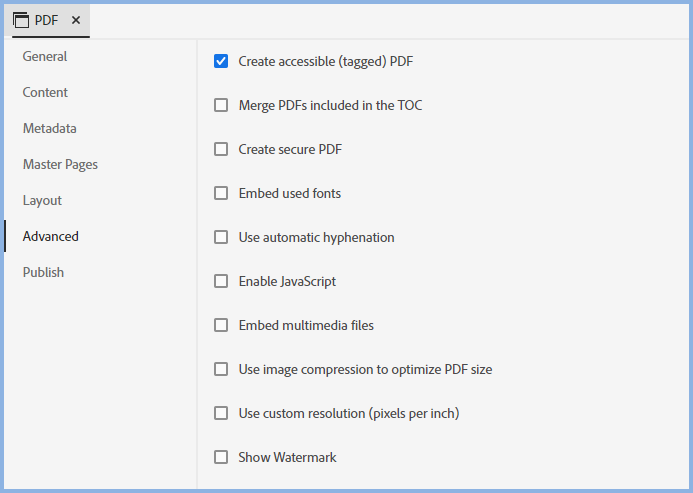
Create Accessible (Tagged) PDF Select if required.
Merge PDFs Included in the TOC If your TOC has any PDFs included, they can be merged with the topics so that you have a complete output.
Create Secure PDF Select this option and you will be able to enter a password that users must enter to read the document.
Embed Used Fonts If you are using non standard fonts, select this option to embed them so the user will see the document as designed.
Use Automatic Hyphenation Words that will not fit on a line will be hyphenated using the Acrobat PDF Engine.
Enable JavaScript If you use JavaScript to render content such as MathML equations in your topics, select this option.
Embed Multimedia Files Any multimedia files linked to will be embedded with this option selected. This will of course increase the file size.
Use Image Compression to Optimize PDF Size This will compress your image size to reduce the overall file size. Use this if your PDF contains lots of images but check the quality remains acceptable.
Use Custom Resolution (pixels per inch)
Select this check box to change the default of 96dpi.
HTML pages are measured by pixels when the browser displays them whereas PDF pages are measured in inches. If you increase the setting, it will result in greater screen width fitting onto a page. Note this will result in smaller text and images so it's a trade off.
Show Watermark Select this field and enter the wording of the watermark you require.
Publish
You can create a Publish Location for this output. Typically that will be used to deliver it to developers. How this is set up is described in Publishing.
PDF Templates
The configuration of the Master Pages and Layout options above can be exported and imported between projects.
Right click the preset name in the left panel and select export/import.
Generating the Output
Once you have defined the preset, click the generate icon.
Cancelling Generation
While an output is being generated, you can click the Cancel icon at any time.

Generation Errors
When you generate an output using Quick Generate, if it fails for any reason click the Error icon to access the log.

If you generated directly from the preset, you will get an error message. Right click the preset and click View Log.
Viewing the Output
Click the view icon on the Output Presets toolbar. Adobe RoboHelp can create a PDF but it does not install a reader unless it is part of Adobe's Technical Communication Suite. If you don't have a reader installed, you will need to download one.
Demo
Click here to see how more about printed documentation works in RoboHelp 2020. Click here to download a zipped copy of project set up with these outputs so that you can try it out.
Donations
If you find the information and tutorials on my site save you time figuring it out for yourself and help improve what you produce, please consider making a small donation.