Resource Linking
Resource Linking replaces the Resource Manager that was in earlier versions. It does much the same job and provides a means of accessing various files such as images that are maintained by another part of the author's organisation and are liable to change.
 When you upgrade a Classic project, any resources being used will be brought into your new project and be linked. You will need to create links as below to any folders and files that were not in use at the time of the upgrade.
Linking Folders and Files
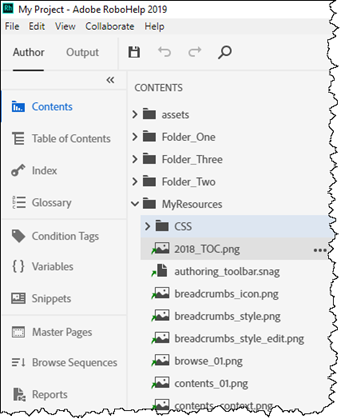
Simply right click in the Contents Panel and click Link > Link File or Link Folder and browse to what you want to see in Adobe RoboHelp. In this image a folder has been added.
Just drag any image into any topic as required.
Whilst the arrow remains green, you know what you are using is in sync with the source. If it appears red, then the source has changed but your topic will not automatically update. It may be the source has been changed in preparation for say a new corporate image but for now you want to continue using the old version, that's OK. When you are ready to use the updated image, click the menu icon that displays while hovering over an image and click Sync.
 After you have linked a folder, you may see many resources that you know you will never want. You can delete those from the list of linked files. Hover over the image and click Delete in the menu.
What you see in Adobe RoboHelp is a snapshot of the files at the time the folder was added to Adobe RoboHelp. New files added to the source folder later will not be shown but any you need can be added.
Do not rename a linked folder or file in either the source location or Adobe RoboHelp as that will break the linking.
Donations
If you find the information and tutorials on my site save you time figuring it out for yourself and help improve what you produce, please consider making a small donation.