Project Settings
General
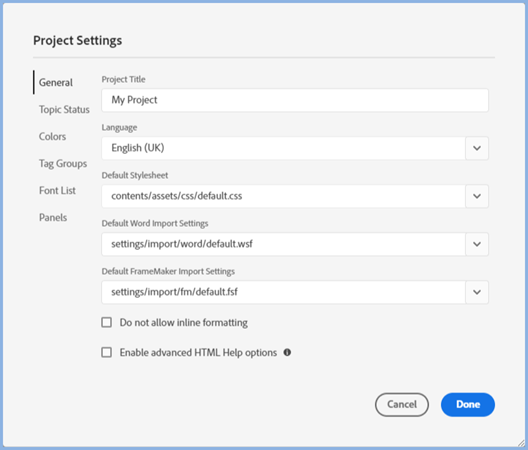
Change any of these values to your own preferences.
Do Not Allow Inline Formatting is a good way of enforcing adherence to CSS styles only.
Enable Advanced HTML HELP Options adds a section to the TOC properties. See the TOC topic.
Topic Status
A number of statuses are preset. To add a new one, enter the name at the top and click the + icon.
Use the trash icon to remove any you don't want. Make sure they are not in use first by clicking in the Topic List report and selecting the Status checkbox.

Colours
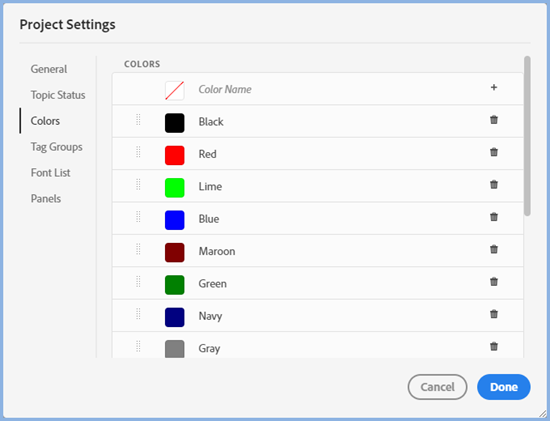
Colours can be set for fonts, borders, backgrounds and so on, anywhere you see this option.
A number of colours are preset. To add a new one, click the icon highlighted above and enter a name, then click the + icon.
Use the trash icon to remove any you don't want. Make sure they are not in use first. Use Find and Replace and set the search to work at code level.
In a project upgraded from a Classic version you will see the colours that were defined in that project.
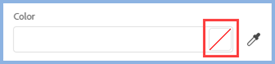
Use the sliders to adjust or set a colour. As you do so, the RGB and hex values will change. Use the A (alpha) setting to adjust the opacity of the colour.
Alternatively, click and release the eye dropper, then move the mouse to select whatever colour is picked up by the cross hairs. These will be surrounded by a large circle displaying the colour that will be defined when you click again.
New colours can be added to the swatch from Project Settings.
To close the swatch dialog, click outside the area or press the Escape key.
Tag Groups
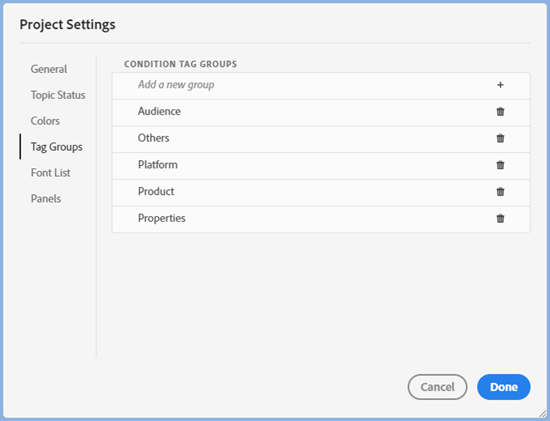
A number of groups are preset. To add a new group, enter the name at the top and click the + icon.
Use the trash icon to remove any you don't want but be aware that will delete all the condition tags in the group. Make sure they are not in use first by check Reports > Condition Tags.
In the Conditions panel, only those groups with tags defined will be shown.
How to use Tag Groups is described in Single Sourcing.
Font List
Generally when authoring a topic the fonts will be defined in the CSS used for the topic. Sometimes though you need to apply an inline font. You can limit the list of fonts that appears in Properties > General > Font or you can prioritise certain fonts to appear first.
To Prioritise the Listed Fonts
Simply enter the names of the required fonts. You can add multiple fonts to one line using a comma to separate them. Then if the user does not have that font installed, the next font in the list will be used.
Set like this, these fonts will show above the normal list of fonts.
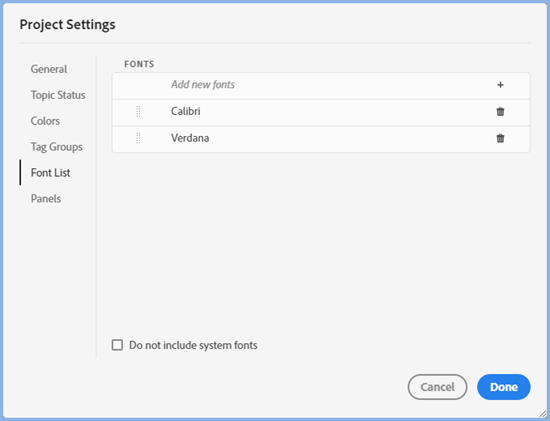
To Limit the Listed Fonts
Select the Do Not Include System Fonts In The Fonts List check box.
Copying the Fonts to Another Project
Using File Explorer, you will find fontlist.xml in Project Folder > Settings. You can copy that to other projects. If you are familiar with the XML structure, you can also edit the file in a text editor.
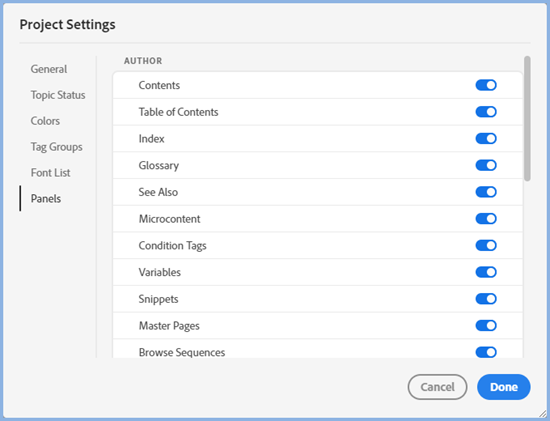
Panels
There are various panels in Adobe RoboHelp showing all the options but you may not need all of them. For example:
- If you do not create Microcontent, you will not need that option.
- If you do not create CHM files, you will not need Window Settings that are further down the list.
Donations
If you find the information and tutorials on my site save you time figuring it out for yourself and help improve what you produce, please consider making a small donation.