RoboHelp 2019 - Lists
The standard toolbar has three list options, unordered lists (bullets), ordered lists (single level numbering) and multilevel lists.
Unordered Lists - Bullets
Click the Bulleted List Styles icon on the toolbar and start writing your list or select existing content and then click the icon to convert the list.
To revert a list item to an ordinary paragraph, click the icon again and select the None option.
Ordered Lists - Numbered
Click the Numbered List Styles icon on the toolbar and start writing your list or select existing content and then click the icon to convert the list.
To revert a list item to an ordinary paragraph, click the icon again and select the None option.
With Update 6 applied, when you start a second list in a topic, it will automatically start at 1. If you split a list and insert some ordinary content in between, the second list will automatically revert to 1. For times when you want some other content between two parts of a list but want the numbering to continue, click in the list and in Properties > General you will see Restart Numbering.
Multilevel Lists
Click the Multilevel List Styles icon on the toolbar and start writing your list or select existing content and then click the icon to convert the list. Use the Tab key to indent a paragraph and change its bullet or number.
To revert a list item to an ordinary paragraph, click the icon again and select the None option.
Autonumbering
Autonumbering applies a number to each instance of a particular style in a topic. This can be a heading style or a paragraph style
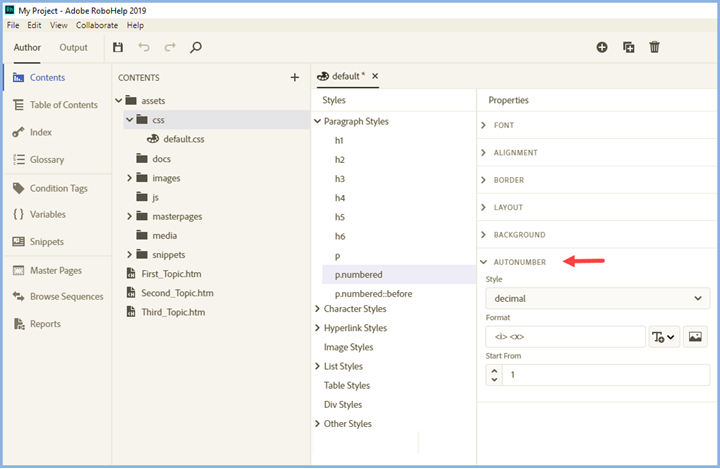
Double click your CSS file in RoboHelp to open it in the CSS editor.
Select an existing style or create a new one. You will see AutoNumber in the properties. Set the format you want including images.
Ordered Lists and Autonumber - What's the difference?
By default a second ordered list within a topic will start again at 1 whereas all instances of an autonumbered style will be sequential throughout a topic.
In both cases though, you can change the numbering in Properties.
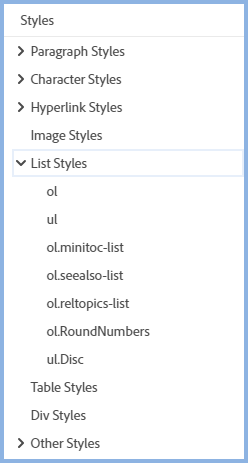
List Styles
RoboHelp 2019 comes with default list styles. You can use any of the default lists as supplied or you can customise them or you can create new list styles. Start by selecting the required list style from the toolbar. Here the numbered list icon has been selected and below the default styles are shown below. For the purposes of showing the options, the first option Decimal List is selected.

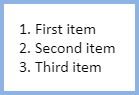
In your topic it will look like this.
With Update 6 applied. the Multilevel list toolbar icon displays this list that now includes a list with black circled numbers.

customised List Styles
If you make changes to the supplied Decimal style, all Decimal lists will have your customization applied when you select Decimal on the toolbar in future. If that is not what you want, create a new style first as shown later.
Open the CSS file by double clicking it in the Contents panel.
To modify an existing style
Click on the style and follow the steps under Properties.
To create a new style based on an existing style
Right click the style and select Duplicate.
Put focus on the new style and follow the steps under Properties.
To create a new style from scratch
Right click List Styles or any existing list style and select New.
Put focus on the new style and follow the steps under Properties.
Example
To create the style shown here, the settings would be as below. Many other styles can be created.

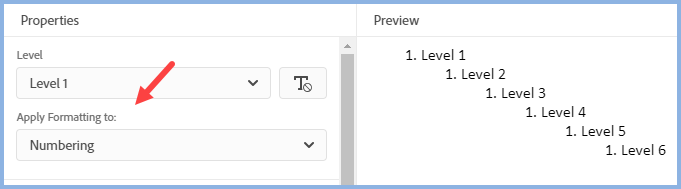
Create a copy of an existing list style and name it as required. With focus on the new style to be edited in the list of styles, make sure Level is set to Level 1, Style is set to Decimal, Applying Formatting To is set to prefix and remove the full stop after <x> in the Format field.
 The Apply Formatting To dropdown controls whether your changes apply to the Numbering / Bullets or the Content. Make sure the required option is selected.
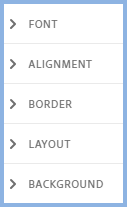
Below those settings are the various options for customizing.
In this example, it is decided the required style is as below. The settings for that are as below.
|
Font |
Click Bold |
|
Alignment |
Set the spacing to 2 |
|
Border |
Set the colour and width required. The border here is 2px. Set the radius if you want rounded corners rather than square corners. The radius shown is 5px. |
|
Layout |
Set the margins and padding as required. The settings shown are 10px right margin and 4px left padding. |
|
Background |
Set the fill colour required. |
Alignment
With Update 6 applied, the formatting of lists has some changes.
When a numbered list reaches double digits, the supplied styles will keep the text in line with the items above. It also works with triple digits if you get that far!
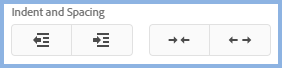
There are also controls to set the position of the number or bullet and the gap between that and the list content.
Upgrading Lists from RoboHelp Classic Versions
Lists upgraded from Classic versions of Adobe RoboHelp may not look quite the same in RoboHelp 2019 as CSS3 rules are applied. You may need to edit your list styles to meet your requirements under CSS3 rules. The simpler your lists in Classic versions, the more likely the lists will upgrade as required.
If you have applied inlne styling to any numbered or bulleted lists (ordered or unordered list) in Classic versions, it will remain applied in RoboHelp 2019. However, inline styling applied to multi-level lists will not carry through to RoboHelp 2019.
It is worth viewing the List and table style editing video to see how to edit your list styles in RoboHelp 2019.
Donations
If you find the information and tutorials on my site save you time figuring it out for yourself and help improve what you produce, please consider making a small donation.