RoboHelp 2017 - Thumbnail Images
Sometimes you need an image that is really too big to be inline and won't do the job if it is reduced. Thumbnails can now be set up to deal with that scenario. Click the thumbnail you see below.
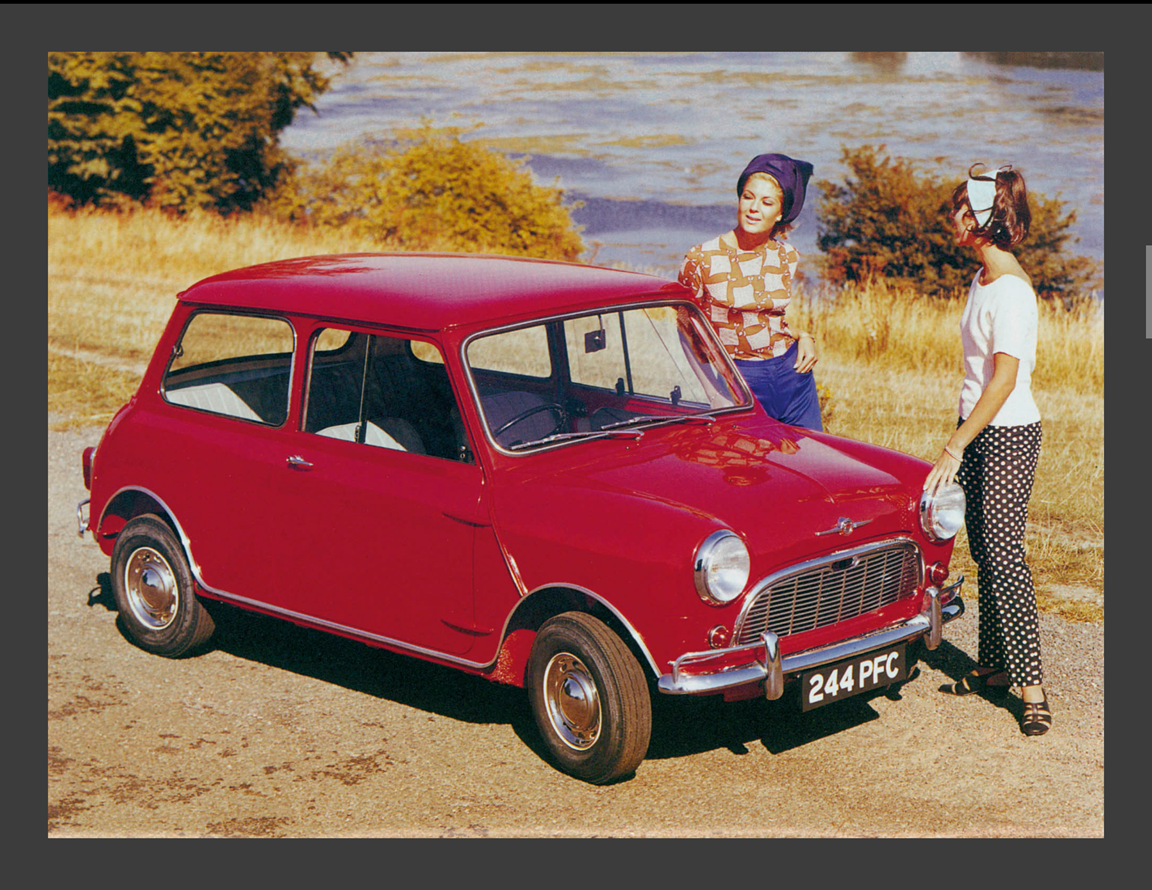
In the topic you will still see the full size image. It will be reduced in the output.
BTW. My first car was a mini like the one above. Bought in 1964, £525 brand new!
How it works
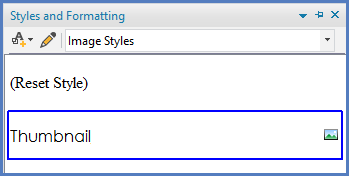
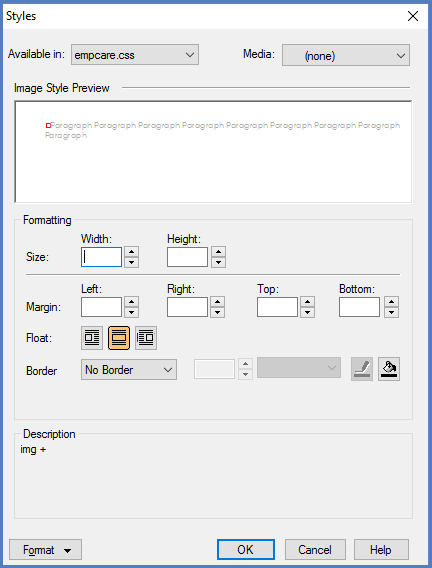
First you create a style or styles. Note that the style(s) affect the thumbnail image in the generated output, not the expanded image that you will see in the RoboHelp editor.
In my project I only want one size of thumbnail so I left the sizes blank here. See below if you want multiple size thumbnails.
When you generate the output, you specify the image style(s) and a maximum size for any of the thumbnail sizes you have set up. I didn't set up a size in the steps above but I can set a maximum here. If you only want one size of thumbnail, the advantage of setting it here is that you can change it more quickly on the fly.
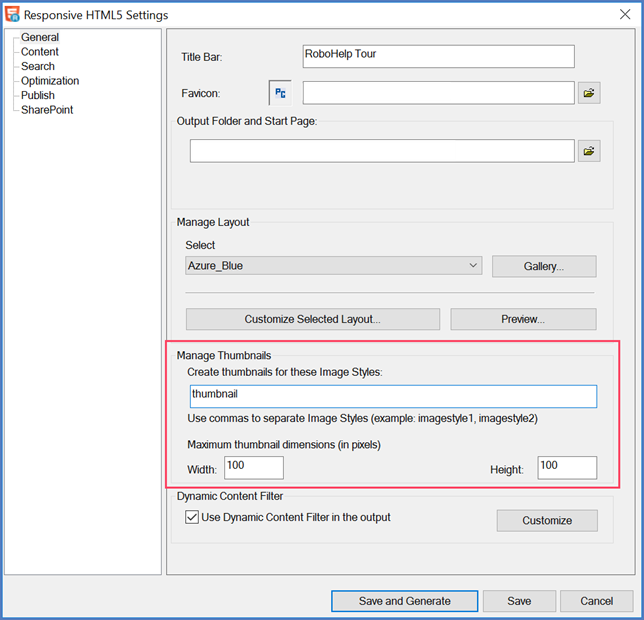
 If you want different sized thumbnails in different parts of your project, create multiple image styles such as Thumbnail75 for 75 by 75 pixel thumbnails and Thumbnail100 for 100 by 100 pixel thumbnails. Then enter those styles in the Output dialog. The dimensions there are simply a maximum for any style. Also in your layout files you will find expand.png and modal-close.png. You can edit those to suit your requirements but don't change the size. Thanks to Rick Stone for his work here.
If you generate printed documentation, you will get the same full size image that you see in the Design Editor. If you need to keep it that size for online help but it is too big for printed documentation, you will need two images with build tags applied.
Donations
If you find the information and tutorials on my site save you time figuring it out for yourself and help improve what you produce, please consider making a small donation.